Why Roof Sealant Application Is the Smartest Roof Maintenance Move You Can Make
Roof sealant application is one of the most cost-effective ways to protect your home from leaks, weather damage, and premature roof failure. Here’s a quick overview of how to do it right:
- Clean the surface — Remove all dirt, debris, and incompatible materials like silicone
- Inspect and repair — Fix cracked shingles, loose nails, and bent flashing first
- Choose the right sealant — Match the product to your roof material and climate
- Apply in good weather — Ideal range is 50°F to 86°F with no rain forecast for 24 hours
- Apply the correct thickness — Minimum 1/16 inch; use multiple coats for flat or low-slope roofs
- Let it cure — Allow 24–48 hours before exposure to heavy rain
Your roof is your home’s first line of defense against New England’s harsh winters, ice dams, and summer UV exposure. Yet even well-built roofs develop small cracks, lifted shingles, and failing seals around flashings over time — and those small problems become expensive ones fast.
The frustrating part? Many homeowners apply sealant repeatedly to the same spot, only to watch the leak return. Sound familiar? That’s usually not a sealant problem — it’s a preparation and product-matching problem.
This guide walks you through everything you need to know to get a lasting result.
I’m Tom Gordon, owner of Twin Metals Roofing, with nearly two decades of hands-on experience in residential and commercial roofing across Massachusetts and New Hampshire, including countless roof sealant application projects on asphalt, metal, and rubber roofing systems. Whether you’re tackling a minor repair yourself or deciding when to call a pro, the techniques in this guide reflect real-world field experience — not just manufacturer instructions.
Understanding the Benefits of Roof Sealant Application
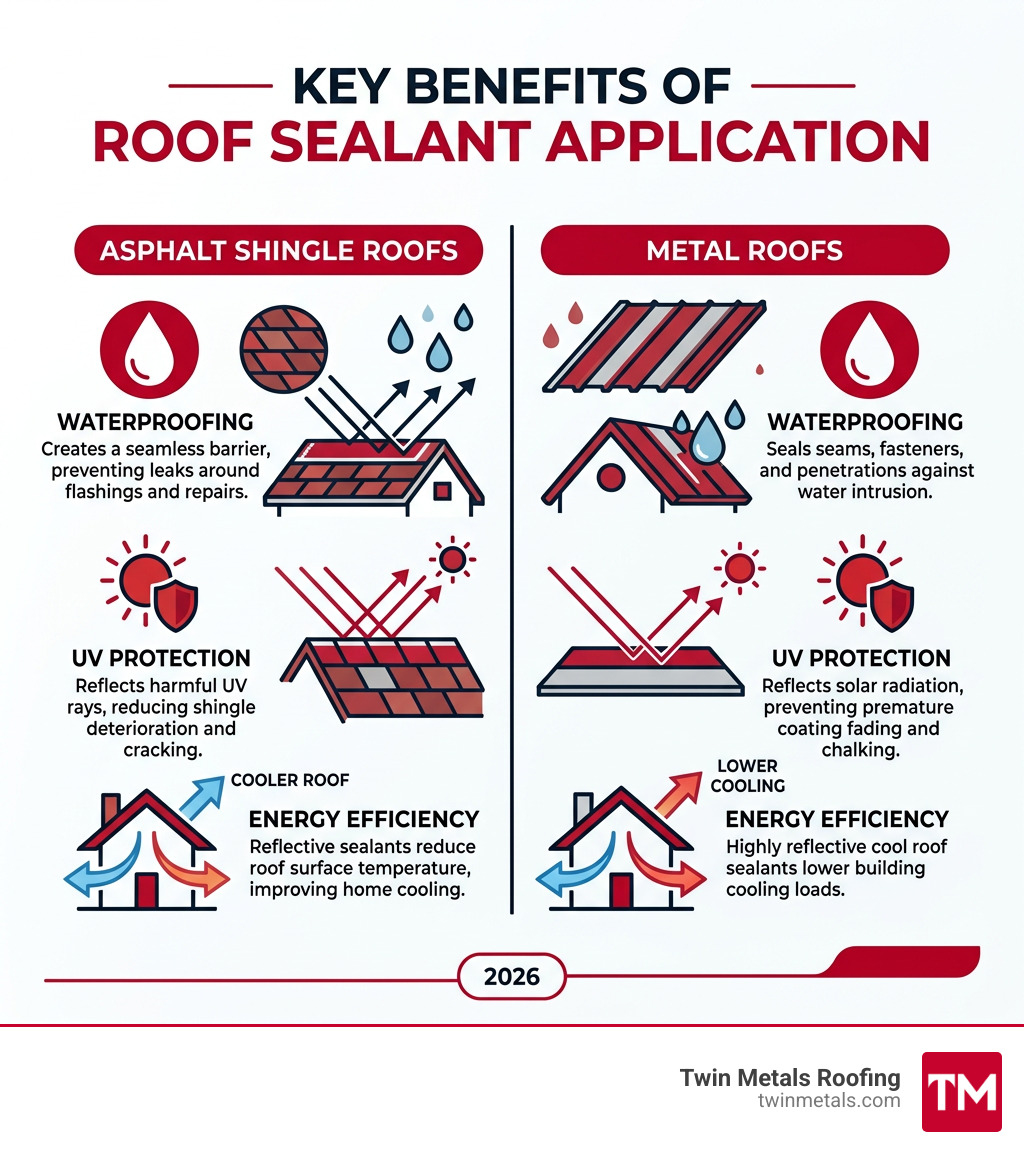
Think of roof sealant as a high-performance “sunscreen and raincoat” for your home. While your primary roofing material—whether it’s asphalt shingles or metal—does the heavy lifting, the sealant acts as a specialized barrier for the most vulnerable points.
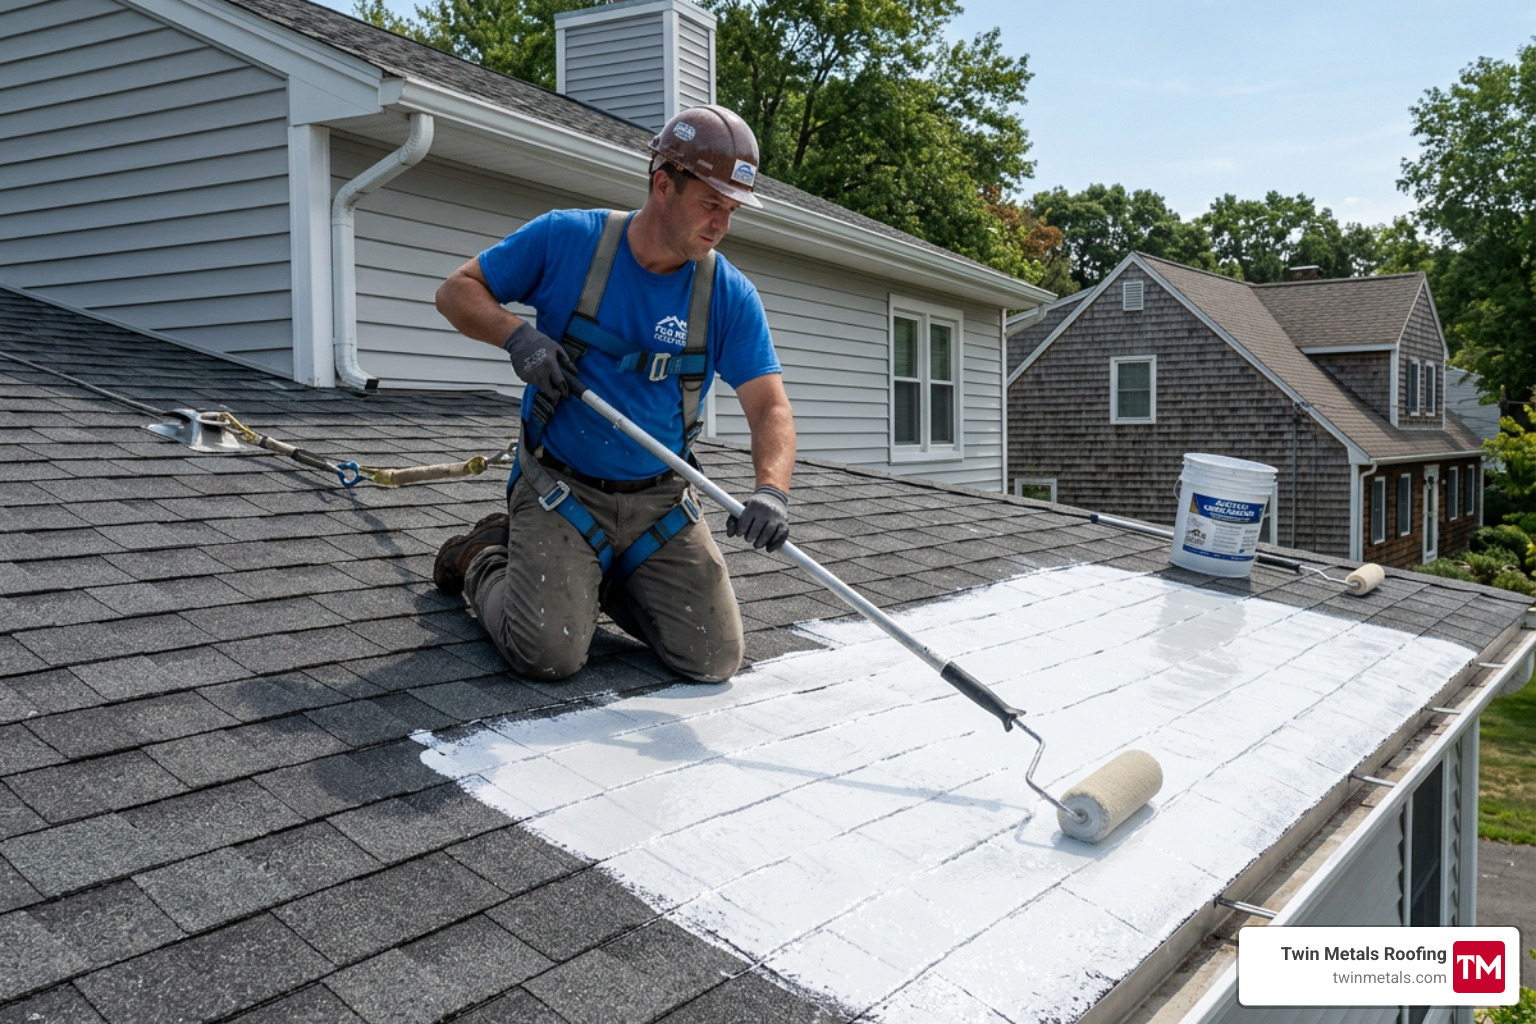
The primary benefit is, of course, moisture protection. Sealants plug the tiny gaps around nail holes, flashing, and seams where water loves to sneak in. Beyond stopping leaks, according to the Forbes Guide to Roof Sealants, these coatings provide vital UV resistance. In the heat of a Massachusetts summer, UV rays break down the adhesives in shingles; a reflective sealant can deflect this heat, improving energy efficiency and lowering your cooling bills.
Furthermore, a proper roof sealant application can provide:
- Fire Resistance: Many modern sealants add a layer of flame retardancy.
- Mold and Algae Prevention: By eliminating moisture pockets, you stop the growth of unsightly dark streaks.
- Structural Integrity: It reinforces the bond between shingles, helping them stay put during high winds.
For those with residential shingle roofing, adding a sealant layer can extend the life of an aging roof by several years, deferring the high cost of a full replacement.
Types of Sealants for Different Materials
Not all sealants are created equal. Using the wrong one is like trying to use a glue stick to fix a car bumper—it just won’t hold.
- Acrylic: Water-based and excellent for UV deflection. It’s flexible and handles temperature swings well but isn’t the best for roofs that hold standing water.
- Silicone: The “gold standard” for moisture. It handles ponding water beautifully and is often used for residential metal roofing and flat roofs.
- Polyurethane: Highly resistant to abrasions and impacts (like hail), though it requires a UV-resistant topcoat as it can degrade in direct sunlight.
- Bituminous: These are solvent-based (often called “roof cement” or tar). They are great for quick patches on asphalt or for sealing joints in gutter systems.
Climate Considerations for New England
In our neck of the woods—from the North Shore of MA to Southern New Hampshire—roofs face a brutal cycle. We deal with extreme temperature fluctuations that cause materials to expand and contract rapidly. This “thermal shock” is what causes sealants to crack.
In winter, ice dams are a major threat. We often recommend specialized residential rubber roofing solutions for low-slope areas, but for shingle roofs, a high-movement sealant (one that can stretch up to 500% or more) is essential to survive the freeze-thaw cycle without snapping.
Preparing Your Roof Surface for Maximum Adhesion
Preparation is 90% of the job. If you apply the world’s best sealant over a layer of dust or old, flaky “roof tar,” it will peel off within a season.
Start by removing all debris, moss, and leaves. For a deep clean, we recommend a pressure wash (at a low setting to avoid damaging shingles) or scrubbing with a TSP (Trisodium Phosphate) solution. If you are working on a commercial metal roof, any rust must be wire-brushed away until you see shiny metal.
Removing Incompatible Materials
One of the most common “roofing sins” is trying to seal over old silicone. Nothing sticks to silicone—not even more silicone. If a previous repair used silicone, you must use a dedicated silicone caulk remover and a scraper to get down to the bare substrate. After scraping, wipe the area with a lint-free cloth soaked in IPA (Isopropyl Alcohol) solvent to remove any oily residue.
Inspecting for Shingle and Flashing Damage
Before opening the sealant, perform a “walk-through.” Look for:
- Cracked or Buckled Shingles: These may need a spray-grade acrylic sealant or a full replacement.
- Loose Nails: Pull them and use a dollop of sealant to plug the hole before driving a new nail nearby.
- Bent Flashing: Ensure metal transitions around chimneys and vents are flush. If there are gaps, you may need a “3-course method” (which we’ll explain below) to bridge the space.
For larger buildings, commercial shingle roof repairs often require inspecting the structural decking for moisture before sealing, as trapping water under a new seal can lead to rot.
Professional Techniques for Roof Sealant Application
When we perform a roof sealant application, we don’t just “goop it on.” Professional results require specific methods to ensure the seal lasts for years.
The 3-Course Method
For seams, joints, or cracks wider than 1/4 inch, a simple bead of caulk isn’t enough. We use the 3-course method:
- Layer 1: Apply a thick coat of sealant over the joint.
- Reinforcement: Embed a strip of polyester fabric or “seam tape” into the wet sealant.
- Layer 2: Apply a final coat of sealant over the fabric, sandwiching it in.
This creates a reinforced membrane that can handle the structural shifting common in commercial rubber roofing and residential valleys. If this sounds like a bigger project than you anticipated, you can always request a professional estimate from our team.
Step-by-Step Guide to Roof Sealant Application
- Clean and Dry: Ensure the surface is bone-dry (unless using a specialized “wet-surface” product).
- Primer Coat: Some materials, like EPDM or weathered wood, require a primer to help the sealant “bite” into the surface.
- Detailing: Use a brush or caulking gun to seal around vents, skylights, and chimneys first.
- Main Application: For larger areas, use a roller or sprayer. Apply at least 1/16-inch thick (about the thickness of a quarter).
- Alternating Directions: If applying two coats, apply the first horizontally and the second vertically. This ensures you don’t miss any tiny pinholes.
Ideal Weather and Temperature Conditions
Temperature is critical. Most sealants should be applied when it is between 50°F and 86°F. If it’s too cold, the sealant won’t flow; if it’s too hot, it can “skin over” too quickly, trapping solvents underneath and causing bubbles.
While some products (like Sashco’s Through the ROOF! or DAP’s AMP) can be applied in the rain or in temperatures as low as -17°C, these are generally for emergency repairs. For a permanent, full-roof seal, wait for a clear, dry window.
Maintenance Schedules and Cost Considerations
How much should you expect to spend? While DIY is tempting, the safety risks of working on a New England roof—especially sloped ones—often outweigh the savings.
Average Costs for Roof Sealing
Based on publicly available internet data, here is what homeowners typically see:
Note: These are average costs based on public data, not Twin Metals Roofing’s actual pricing.
- DIY Costs: Generally range from $0.65 to $5.00 per square foot for materials.
- Professional Labor: Most contractors charge between $35 and $90 per hour.
- Total Project Range: A small repair might cost $450, while a complex, multi-layered sealing of a large commercial roof can reach $4,500 or more.
Hiring a pro ensures the job is done safely and is often backed by a warranty, which you won’t get on a DIY weekend project. You can learn more about our roofing expertise and how we handle these complexities.
Common Mistakes in Roof Sealant Application
- Poor Preparation: Leaving old, loose tar or dust on the roof.
- Wrong Product: Using a “shingle sealant” on a metal roof or vice versa.
- Insufficient Thickness: Applying it like paint rather than a protective membrane. You need a “mil thickness” (usually 1/16″) to actually stop water.
- Ignoring the Gutters: A sealed roof won’t help if your gutters are backed up, forcing water under the shingles. Check out our gutters, siding, and soffit protection services to ensure your entire drainage system is working.
Frequently Asked Questions about Roof Sealant Application
How often should I reseal my roof?
As a general rule, flat roofs should be inspected and potentially resealed every 3 to 5 years, especially if they experience ponding water. Sloped shingle roofs typically need attention every 6 to 8 years. If you see shingles “curling” or find granules in your gutters, it’s time to look at a sealant application.
Can sealant be applied in the rain?
Yes, but only if you use a “moisture-cure” or “wet-surface” formulation. These are excellent for emergency leaks during a storm. However, for a full-roof protective coating, dry weather is always preferred for maximum adhesion.
Is roof sealant a permanent fix for leaks?
Sealant is a powerful tool for maintenance and minor repairs, but it is not a substitute for a roof that is structurally compromised. If your shingles are missing or the wood deck underneath is soft, a roof sealant application is just a temporary bandage. A professional inspection can tell you if you need a simple seal or a more robust repair.
Conclusion
Mastering roof sealant application is about choosing the right material for the job and respecting the preparation process. Whether you are protecting a residential shingle roof in Andover or a large industrial metal facility, the right seal can save you thousands in avoided water damage.
At Twin Metals Roofing, we specialize in asphalt and metal roof installations across Massachusetts and New Hampshire. We pride ourselves on using quality materials and providing superior performance that stands up to the New England climate. If you’re unsure about the state of your roof or need a professional touch, contact our roofing company in Andover, MA today for a comprehensive evaluation.
Twin Metals Roofing services Berkshire County in Eastern Massachusetts and Southern New Hampshire.
Follow us on Facebook — https://www.facebook.com/twinmetalsroofing Follow us on Instagram – https://www.instagram.com/twinmetals/