A Small Roof Leak Can Become a Big Problem Fast
Minor roof leak repair is something every homeowner in New England will face at some point — and acting quickly is the difference between a $300 fix and a $3,000 headache.
Here’s how to fix a minor roof leak:
- Find the source — Check your attic with a flashlight for water trails, stains, or damp insulation. The leak entry point is often several feet uphill from where the ceiling stain appears.
- Protect the inside — Place buckets under active drips and lay plastic sheeting over valuables.
- Apply a temporary fix — Use a waterproof tarp, roofing tape, or rubberized roof cement to stop water entry until a permanent repair is made.
- Make the permanent repair — Replace the damaged shingle, vent boot, or flashing once conditions are dry and safe.
- Test the repair — Run a garden hose over the area and have someone watch from the attic to confirm the leak is sealed.
A small brown stain on your ceiling might not look like much. But water is patient. Once it finds a way in, it travels along rafters, soaks insulation, and can trigger mold growth within 24 to 48 hours. What starts as a minor nuisance can quietly rot your roof deck, destroy your insulation, and create an electrical hazard — all before you notice anything beyond that first faint drip.
The good news? Most minor leaks have a short list of causes — a cracked vent boot, a loose piece of flashing, a missing shingle, a popped nail — and they can often be fixed quickly with the right materials and a clear plan.
I’m Tom Gordon, owner of Twin Roofing, a division of Twin Metals, Inc., and with nearly two decades of hands-on roofing experience across Massachusetts and New Hampshire, I’ve seen how fast a small leak can spiral when minor roof leak repair gets put off. This guide walks you through exactly what to do — safely and correctly.

How to Spot a Minor Roof Leak Before It Spreads

The most common causes of a minor roof leak are pretty predictable:
- cracked or failed vent boots
- loose, rusted, or poorly sealed flashing
- one or two missing or damaged shingles
- exposed nail heads or nail pops
- old mounting holes from removed equipment
- clogged gutters or debris-filled valleys that force water backward
- aging sealant around chimneys, walls, or skylights
In Eastern Massachusetts and Southern New Hampshire, freeze-thaw cycles, wind-driven rain, snow load, and ice dams can make these small weak points leak faster.
Interior signs that point to a roof leak
Start inside before you even think about climbing a ladder.
Look for:
- brown ceiling stains
- damp spots high on walls
- peeling paint near the ceiling
- dripping water during or after rain
- bulging drywall
- musty smells in the attic or upper floor
- damp or flattened insulation
- visible mold or mildew
A key detail: the drip you see is not always directly below the roof opening. Water often travels along rafters, roof decking, pipes, or insulation before it shows up indoors.
Use a flashlight in the attic and look for:
- dark water trails on wood
- shiny wet spots
- rusted nails poking through the deck
- damp insulation
- daylight coming through small holes
Exterior clues homeowners can check safely from the ground
You can learn a lot without stepping onto the roof. A pair of binoculars is your friend here.
From the ground, check for:
- missing shingles
- curled or cracked shingle tabs
- lifted ridge caps
- rusty flashing around chimneys or walls
- damaged vent boots around plumbing pipes
- sagging gutters
- overflowing or clogged gutters
- leaves piled in roof valleys
- branches rubbing the roof
If the roof is wet, icy, mossy, steep, or more than a simple one-story reach, stay on the ground. A leak is annoying. A fall is life-changing.
How to locate the true source of a minor roof leak repair
The safest and most effective homeowner method is an attic inspection followed by a controlled hose test.
- Wait for dry, safe conditions.
- Go into the attic with a flashlight.
- Trace any water marks uphill from the visible drip or stain.
- Mark the likely leak area with painter’s tape or a pencil.
- Have one person run a garden hose on the roof while another watches inside.
- Start low and work upward slowly around penetrations like vents, flashing, and valleys.
This matters because water can travel 6 to 10 feet before dripping into a room. If you’re trying minor roof leak repair without finding the actual entry point, you’re just guessing with a caulk gun.
Safety First: What to Do Before Attempting Minor Roof Leak Repair

Before any repair, we recommend asking one simple question: is this truly safe for us to handle ourselves?
Falls from ladders are a leading cause of household injuries during roof repairs. That is why safety comes before speed, every time.
Roof and ladder safety rules every homeowner should follow
Use these rules as your non-negotiables:
- work only on a dry, calm day
- never climb onto a wet, icy, snowy, or mossy roof
- use a sturdy extension ladder set on firm ground
- keep the ladder at a safe angle
- extend the ladder at least 3 feet above the roof edge
- maintain three points of contact while climbing
- wear soft-soled, non-slip shoes
- wear gloves and eye protection
- do not work alone; have a spotter on the ground
- stay clear of power lines
- avoid DIY work on steep roofs
If you feel rushed because rain is coming, that’s usually the moment to stop. Roof leaks are stressful, but panic repairs are how people get hurt.
When a DIY fix is reasonable and when to call a roofer
A DIY repair is usually reasonable when:
- the leak source is obvious
- the roof is easy to access
- the pitch is low to moderate
- the damage is limited to one small area
- you’re replacing one or two shingles, sealing a small hole, or swapping a vent boot
- the decking feels solid and dry
Call a roofer when:
- the roof is steep or high
- the leak source is hard to find
- multiple areas are leaking
- flashing around a chimney or skylight has failed
- there are soft spots or sagging
- storm damage affected a large area
- you suspect rotten decking
- the roof is older and shingles are brittle
- a DIY repair could affect your warranty or insurance claim
Small fixes are one thing. Structural questions are another.
Temporary steps to stop active leaking indoors and outside
When water is actively entering, control the damage first.
Inside:
- place a bucket or pan under the drip
- move furniture and electronics
- use plastic sheeting over floors and belongings
- if water is bulging behind drywall, a small controlled drain hole may reduce ceiling collapse risk
Outside, if and only if it is safe:
- cover the area with a properly secured tarp
- use short-term waterproof roof tape
- apply wet-patch roof cement for emergency sealing on suitable surfaces
A rubberized wet patch product can be useful in emergency conditions because it can bond to damp surfaces. Some products cover about 12.5 square feet per gallon at 1/8-inch thickness and are designed for harsh temperatures, but they are messy and should be troweled on, not rolled. For moving joints or seams, a 3-course patch method works best: sealant, repair fabric, then another layer of sealant.
For more immediate triage tips, see More info about x services.
Tools and Materials You’ll Need for Minor Roof Leak Repair
Having the right tools saves time and prevents the classic “fixed it with whatever was in the junk drawer” mistake.
Basic tools for finding and fixing small leaks
For most small repairs, gather:
- flashlight
- extension ladder
- garden hose
- flat pry bar
- hammer
- utility knife
- caulk gun
- putty knife or roofing trowel
- measuring tape
- drill or driver
- binoculars
- work gloves
- eye protection
Materials for shingle, flashing, and vent repairs
Depending on the leak, you may need:
- matching asphalt shingles
- roofing nails
- washer-head roofing screws
- roofing cement
- roof sealant made for roofing use
- metal flashing pieces
- step flashing
- replacement vent boot
- repair fabric or mesh
- waterproof tarp
- butyl or roof repair tape for temporary use
For asphalt shingle homes, matching the shingle profile and weight matters, not just the color. A mismatch can look odd and also shed water poorly.
If you’re using roof cement or wet patch, wear heavy-duty gloves. It sticks to everything except your patience.
What not to use on a roof leak
Do not use:
- interior caulk as a roof repair
- spray foam
- random household tape
- thick blobs of tar as a permanent fix
- the wrong adhesive for the roof material
- silicone smeared over a flashing failure and called “done”
Those shortcuts tend to trap water, fail quickly, or make the real repair harder later.
For a deeper look at product choice and technique, read How to Master Roof Sealant Application and Shingle Repairs.
Step-by-Step Minor Roof Leak Repair for the Most Common Problems
These steps focus on common asphalt roof issues, since we install asphalt roofs in MA and NH and see these problems often.
How to fix a damaged vent boot
A failed pipe boot is one of the most common leak sources on residential roofs.
- Gently lift the shingles around the vent with a flat pry bar.
- Remove the nails or screws fastening the old boot.
- Slide the damaged boot out from under the upper shingles.
- Check the roof deck around the pipe for softness or rot.
- Slide the new boot into place so the lower flange sits over shingles and the upper portion goes under the shingles above.
- Fasten it with roofing screws or nails as recommended by the manufacturer.
- Seal exposed fastener heads with roofing cement.
- Press shingles back into place and add a small amount of roofing cement under any tabs that no longer self-seal.
If the rubber gasket is cracked, dried out, or splits when flexed, replacement is better than trying to smear sealant over it.
How to reseal or replace loose flashing
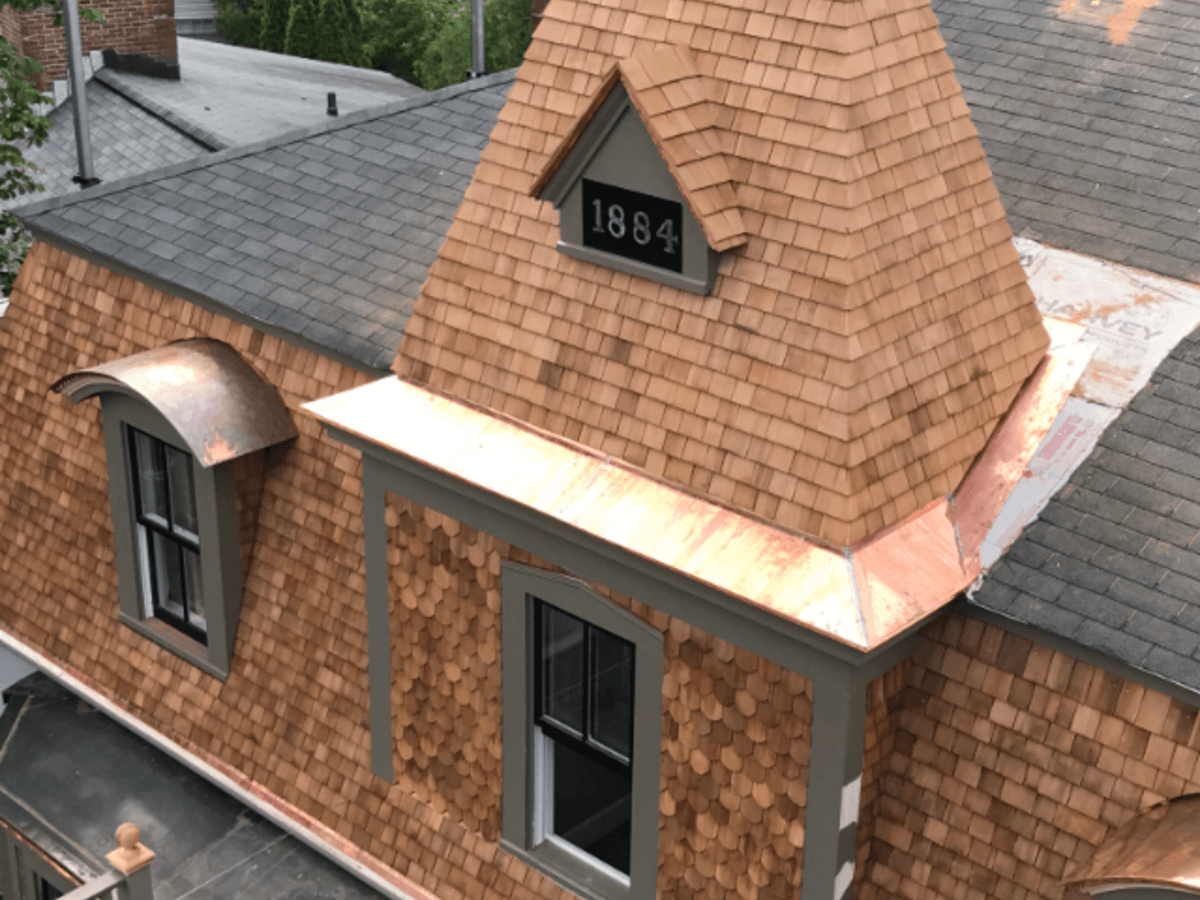
Loose or rusted flashing around a chimney, wall, or sidewall joint often causes repeated leaks.
- Lift the surrounding shingles carefully.
- Inspect the flashing for rust, gaps, bent edges, or missing overlap.
- If the metal is still sound, clean the area and reseal minor gaps with roofing-grade sealant where appropriate.
- If the flashing is rusted, loose, or improperly lapped, remove and replace it.
- Slide new flashing under the shingles so water sheds over, not behind, the metal.
- Overlap sections correctly.
- Seal only the necessary joints and exposed fasteners.
Important note: chimney flashing repairs can be more complicated than they look and often involve step flashing and counter-flashing together. If masonry joints are involved or the leak keeps returning, this is usually pro territory.
How to patch small holes, exposed nails, and old mounting holes
Old satellite mounts, exposed nails, and tiny punctures can leak for years.
- Clean debris from the repair area.
- Remove any loose material.
- For a small hole, slip a thin metal flashing patch under the surrounding shingle if possible.
- Apply roofing cement beneath and over the patch edges.
- For areas subject to movement, embed repair fabric into the first coat and cover it with a second coat.
- Seal exposed nail heads individually.
Do not glob on an oversized mound of cement. Thick blobs can catch water instead of shedding it.
How to replace one or two damaged shingles
If a shingle is cracked, torn, or missing:
- Lift the tabs of the shingles above the damaged one.
- Break the adhesive bond carefully.
- Remove the nails holding the damaged shingle.
- Slide the old shingle out.
- Insert the matching replacement shingle.
- Nail it in the proper nail strip location.
- Seal nail heads if exposed.
- Add a dab of roofing cement under the tabs to help them reseal.
Never install a new shingle over a damaged one and hope for the best. Roofs are not lasagna.
How to test whether the repair worked
After the repair:
- Let sealants set according to product directions.
- Wait about 24 hours when possible.
- Repeat the garden hose test.
- Have a helper in the attic check for moisture.
- Inspect again after the next natural rainfall.
If you want another practical reference, see How to Fix a Leaky Roof.
Costs, Timelines, and the Risks of Waiting Too Long

Typical repair time and what affects it
Most professional residential roof leak repairs are completed in 2 to 5 hours. A small DIY patch may take under an hour, while a vent boot or flashing repair may take half a day once setup, diagnosis, and testing are included.
Time depends on:
- roof pitch and height
- weather window
- how easy the leak is to locate
- roof material
- whether shingles are brittle
- whether the deck underneath is damaged
- drying and cure time for sealants
Average 2026 cost ranges homeowners should expect
These are average 2026 costs based on publicly available internet data, not our actual pricing.
| Repair type | Average public price range |
|---|---|
| Minor professional roof leak repair | $350-$1,500 |
| Pipe boot repair | $200-$500 |
| Chimney flashing repair | $400-$1,200 |
| Roof valley repair | $500-$1,500 |
A true DIY patch may cost far less in materials, but only if the repair is correct and safe. If the fix fails, the savings disappear fast.
Why ignoring a small leak gets expensive fast
This is the part nobody enjoys hearing, but everybody should know:
- mold can begin growing within 24 to 48 hours of water exposure
- wet insulation loses effectiveness, which can raise heating and cooling costs
- roof decking and rafters can begin to rot
- ceilings and drywall can stain, sag, or collapse
- water near wiring creates an electrical hazard
A small leak that might cost a few hundred dollars today can become a several-thousand-dollar repair after only a few heavy rainstorms. One useful rule of thumb from public data: a $300 roof leak problem today can become a $3,000 problem after three heavy storms if ignored.
Prevent Future Leaks and Know When to Bring in a Pro
Maintenance habits that prevent repeat leaks
The best minor roof leak repair is the one you never need.
We recommend:
- checking the roof each spring and fall
- inspecting again after major wind or snow events
- cleaning gutters regularly
- clearing debris from valleys
- trimming tree branches away from the roof
- checking vent boots and flashing for cracks
- sealing abandoned mounting holes properly
- maintaining attic ventilation to reduce moisture and ice dam issues
In our region, ice dams are a real troublemaker. Good attic ventilation and timely snow management help reduce backup under shingles.
Signs the repair is beyond DIY
Stop and call a professional if you notice:
- recurring leaks in the same spot
- multiple leaks
- soft or spongy roof areas
- sagging decking
- chimney flashing problems
- skylight leaks that are hard to trace
- widespread shingle loss
- interior mold growth
- storm-related damage that may involve insurance
- a roof that is steep, high, or unsafe to access
If you need more Massachusetts-focused guidance, see The Ultimate Guide to Urgent Shingle Fixes in Massachusetts and our FAQs.
Get expert help with lasting roof repairs
Temporary fixes have their place, but lasting repairs come from correct diagnosis and proper installation.
At Twin Roofing, a division of Twin Metals Inc., we install asphalt roofs in MA and NH and provide residential and commercial roofing solutions with a focus on performance, quality materials, and service. If your leak is beyond a simple patch, learn more here: More info about x services.
Frequently Asked Questions about Minor Roof Leak Repair
Can a small roof leak be repaired without replacing the whole roof?
Yes, usually. If the damage is localized and the rest of the roof is in good shape, a targeted repair is often the right move. Common examples include one failed vent boot, a few damaged shingles, or a small flashing issue.
A full replacement becomes more likely when:
- the roof is older and brittle
- leaks are happening in multiple places
- the decking is damaged
- repair costs keep stacking up
How long do temporary roof leak fixes last?
Temporary fixes are exactly that: temporary.
- A properly installed tarp often lasts about 60 to 90 days.
- Roof repair tape may last a few weeks.
- Roofing cement may hold for months, sometimes longer, depending on exposure and application.
The smart move is to schedule the permanent repair as soon as conditions allow, ideally within 30 days.
What is the best weather for minor roof leak repair?
The best conditions are:
- a dry day
- light wind
- no ice or frost
- moderate temperatures, ideally around 50 to 80 degrees Fahrenheit
Avoid active rain, snow, high winds, and extreme cold whenever possible. If the roof is wet, the safest repair is often no repair until it dries – just interior protection and a secure tarp if safe to install.
If you need professional help with a leak in Eastern Massachusetts or Southern New Hampshire, we’re here to help.
Follow us on Facebook — https://www.facebook.com/twinmetalsroofing
Follow u son Instagram – https://www.instagram.com/twinmetals/
Twin Roofing services Eastern Massachusetts and Southern New Hampshire.